Sublimation vs Iron on Transfer: Tips That Help
On this page (8 sections)
- Choosing Your Custom Design Method: Sublimation vs. Iron-On
- Understanding How Sublimation Works
- Exploring the World of Iron-On Transfers
- Comparing Key Differences: Sublimation vs. Iron-On
- Tips for Successful Sublimation Projects
- Achieving Great Results with Iron-On Transfers
- Conclusion
- Frequently Asked Questions
Choosing between sublimation and iron-on transfers? For vibrant, permanent designs on polyester fabrics, sublimation is your go-to. For simpler, versatile applications on various materials, iron-on transfers are a solid choice. We found that sublimation dyes your fabric, while iron-ons create a layer on top. Both offer great ways to personalize items.
Understanding the differences helps you pick the best method for your project. Sublimation requires a special printer and paper, transferring ink directly into the material. Iron-on transfers use heat to activate an adhesive on a printed design, making them great for cotton and blends. Many crafters prefer iron-ons for their ease of use on different surfaces.
- Sublimation: Permanent, vibrant colors on polyester.
- Iron-on: Versatile for various fabrics and surfaces.
- Sublimation dyes the fabric itself.
- Iron-ons create a design layer on top.
- Consider your material and desired durability.
Let’s walk through the key differences and offer tips to help you make the best choice for your next project.
Choosing Your Custom Design Method: Sublimation vs. Iron-On
When you’re ready to add your unique touch to t-shirts, mugs, or other items, you’ll likely bump into two popular methods: sublimation and iron-on transfers. Both can bring your designs to life. But they work differently and are best suited for different projects. We’ve found that understanding these core differences is the first step to picking the right one for you.
Think of it like painting. Sublimation is like dyeing the fabric itself, creating a design that becomes part of the material. Iron-on transfers, on the other hand, are more like applying a sticker or decal. They sit on top of the surface. We found that this fundamental difference affects how durable, vibrant, and versatile each method is.
Let’s break down what makes each method unique and how you can get the best results. We’ll cover the materials you need, the types of items you can decorate, and what to expect in terms of longevity. This guide will help you feel confident in your choice. You’ll be creating amazing custom items in no time!
Understanding How Sublimation Works
Sublimation is a fascinating process. It turns solid ink into a gas when heated, and that gas then bonds with the material. We found that this chemical reaction is key to its permanence. The ink essentially becomes one with the fabric or surface.
The Science Behind Sublimation’s Permanence
When you heat sublimation ink, it transforms directly into a gas. This gas then penetrates the pores of synthetic fibers, like polyester. Once cooled, the gas turns back into a solid, permanently infused into the material. This means the design won’t crack, peel, or fade easily. We found this makes it ideal for items that get a lot of wear or washing.
What You Need for Sublimation
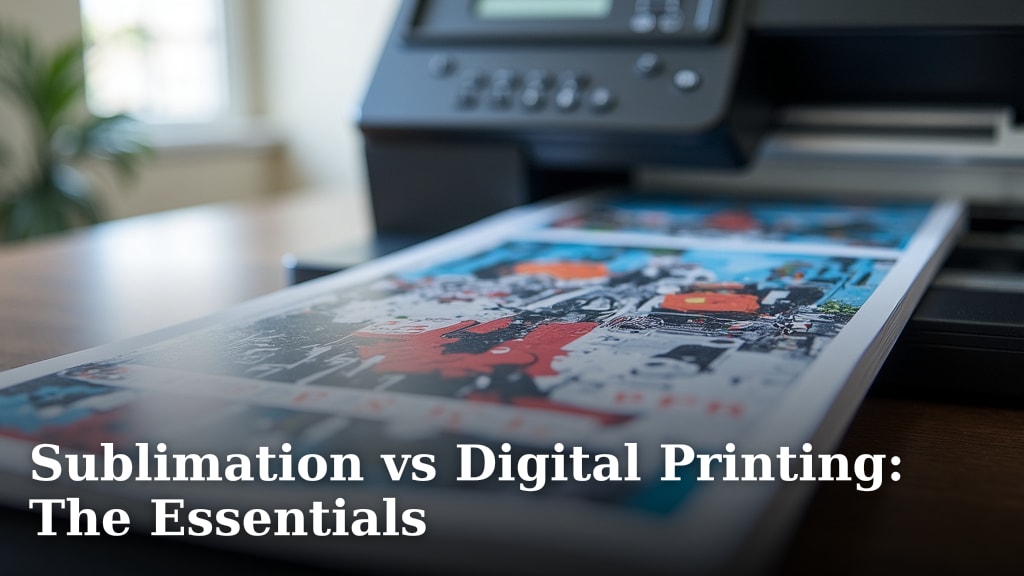
To get started with sublimation, you’ll need a few specific items. A sublimation printer is essential. These printers use special sublimation inks. You also need sublimation paper. This paper is designed to hold and release the sublimation ink effectively. Finally, you’ll need a heat press. This provides the consistent, high heat needed to activate the ink transfer.
Best Materials for Sublimation
Sublimation works best on polyester or high-polyester blend fabrics. The ink needs those synthetic fibers to bond with. Think athletic wear, polyester t-shirts, and tote bags. For hard surfaces, like mugs, coasters, or metal panels, they must have a special polymer coating. This coating allows the sublimation ink to adhere. We found that items without this coating won’t accept the sublimation ink. Always check the product description to ensure it’s sublimation-ready.
Exploring the World of Iron-On Transfers
Iron-on transfers, sometimes called heat transfers or heat transfer vinyl (HTV), are a more accessible option for many crafters. They involve applying a design that sits on the surface of your item. We found that this method offers a lot of flexibility.
How Iron-On Transfers Are Applied
Iron-on transfers start with a design printed on special paper or cut from vinyl. This design has an adhesive backing. You place the design onto your item and apply heat and pressure, usually with a heat press or a household iron. The heat melts the adhesive, bonding the design to the fabric or surface. We found that the quality of the bond depends on the correct temperature, time, and pressure.
Essential Equipment for Iron-On Transfers
For iron-on transfers, you have a couple of options for equipment. A heat press is the professional choice. It offers consistent heat and pressure for reliable results. Many crafters also use a standard household iron, especially for smaller projects. If you’re using printable iron-on transfer paper, you’ll need a standard inkjet printer. For designs cut from vinyl, you’ll need a cutting machine like a Cricut or Silhouette.
Versatile Materials for Iron-On Transfers
One of the biggest advantages of iron-on transfers is their versatility. They work well on a wide range of materials. This includes cotton, polyester blends, canvas, nylon, and even some leathers. You can apply them to t-shirts, hoodies, hats, bags, shoes, and more. We found that different types of iron-on materials exist, so it’s important to match the transfer type to your fabric. For example, some HTV is specifically designed for stretchy fabrics, while others are better for sturdy cotton.
Comparing Key Differences: Sublimation vs. Iron-On
To help you decide, let’s put the two methods side-by-side. We’ve highlighted the main distinctions that will impact your project choices and the final look and feel of your creations.
Durability and Longevity
Sublimation typically offers superior durability. Because the ink is infused into the fibers, designs are highly resistant to fading, cracking, and peeling. We found that with proper care, sublimation prints can last for years, even with frequent washing. Iron-on transfers, while durable, can eventually show wear. The adhesive can weaken over time, leading to peeling or cracking, especially with lower-quality transfers or improper care. Many guidelines suggest that sublimation designs are often considered more permanent.
Color Vibrancy and Detail
Sublimation excels at producing incredibly vibrant, full-color designs. It can reproduce intricate details and smooth gradients beautifully. We found that the colors are often richer and brighter than what you can achieve with many iron-on methods. Iron-on transfers can also be vibrant, but they might have limitations with very fine details or complex color blending, depending on the type of transfer used.
Feel and Texture
A key difference is how the finished design feels. Sublimation becomes part of the fabric. This means there’s no added texture; the item feels just like it did before. It’s a smooth, soft finish. Iron-on transfers, however, create a layer on top of the material. Depending on the type of transfer, this layer can be thin and flexible, or it might have a noticeable thickness or even a slight glossy feel. We found that some people prefer the feel of sublimation because it’s completely undetectable.
Material Requirements and Limitations
This is where the methods diverge significantly. As we discussed, sublimation is primarily for polyester fabrics or items with a polymer coating. Trying to sublimate on cotton or dark fabrics usually results in a dull or non-existent design. Iron-on transfers are far more forgiving. They can be applied to a wider variety of fabrics, including cotton, blends, and even darker colors. This makes iron-ons a more flexible choice for diverse projects.
Setup Costs and Ease of Use
Getting started with sublimation often involves a higher upfront investment due to the specialized printer and inks. While the process itself can become straightforward with practice, the initial setup can be a barrier for casual crafters. Iron-on transfers generally have a lower entry cost. A household iron and printable transfer paper are quite accessible. If you choose heat transfer vinyl, a cutting machine is an additional cost, but it opens up a world of possibilities. We found that for beginners, iron-ons are often easier to jump into.
| Feature | Sublimation | Iron-On Transfer |
|---|---|---|
| Application Method | Ink infuses into fibers (gas transfer) | Adhesive bonds design to surface (layering) |
| Best Fabrics | High-polyester content (white or light colors) | Cotton, polyester blends, canvas, nylon (various colors) |
| Durability | Excellent (permanent, won’t crack or peel) | Good to very good (can fade, crack, or peel over time) |
| Feel | No added texture, part of the fabric | Slight texture or layer on the surface |
| Color Vibrancy | Exceptional, full-spectrum | Good to excellent, depends on transfer type |
| Equipment Needs | Sublimation printer, ink, paper, heat press | Inkjet printer (for printable), heat press or iron, cutting machine (for HTV) |
| Cost to Start | Higher initial investment | Lower initial investment |
Tips for Successful Sublimation Projects
Achieving great sublimation results requires attention to detail. We’ve gathered some tips that can help you avoid common pitfalls and get that vibrant, permanent design you’re after.
Always Use Polyester or Coated Items
This is the golden rule. If your item isn’t at least 65% polyester (and preferably higher, like 80-100%), your sublimation colors will be dull or won’t transfer at all. We found that even a high-polyester blend on a dark cotton shirt won’t yield good results. For non-fabric items like mugs, ensure they have a specific polymer coating. Without it, the ink will just wash off.
Pre-Press Your Fabric
Before you place your sublimation transfer onto a fabric item, give the fabric a quick press with your heat press. This removes any moisture and wrinkles. We found that moisture in the fabric can cause the sublimation ink to look splotchy or faded. A quick 5-10 second pre-press ensures a smooth, even surface for transfer.
Secure Your Transfer Properly
Sublimation ink can “ghost” if the paper moves during the heating process. This means you get a blurry or doubled image. To prevent this, use heat-resistant tape to secure your sublimation print to your item. Some crafters also use a thin sheet of parchment paper or butcher paper between the sublimation paper and the heat press platen to catch any excess ink and protect your press.
Use the Right Heat and Time Settings
The exact temperature and time needed for sublimation can vary depending on your printer, ink, paper, and the material you’re pressing. Always check the recommendations for your specific sublimation paper and ink. We found that over-pressing can cause colors to look muddy, while under-pressing might result in a faded design. Experimentation on scrap material is often recommended.
Achieving Great Results with Iron-On Transfers
Iron-on transfers are popular for good reason. They’re versatile and can yield professional-looking results with a few key techniques. Here’s how to make your iron-on projects shine.
Read and Follow Transfer Instructions
This sounds simple, but it’s incredibly important. Different brands and types of iron-on transfers have specific requirements for temperature, pressure, and pressing time. We found that using a household iron requires careful attention to maintaining consistent heat and pressure. If using a heat press, ensure it’s calibrated correctly. Following the manufacturer’s instructions is the best way to ensure good adhesion and durability.
Proper Fabric Preparation is Key
Just like with sublimation, it’s wise to pre-press your fabric for a few seconds before applying the iron-on. This removes wrinkles and moisture, which can interfere with the adhesive. We found that a smooth, dry surface ensures the best possible bond between the transfer and the fabric.
Apply Even Heat and Firm Pressure
When using a household iron, make sure you’re not just moving it around quickly. You need to apply firm, steady pressure to each section of the transfer for the recommended time. Don’t use the steam setting on your iron, as water can disrupt the adhesive. If you’re using a heat press, ensure the pressure is set correctly – not too light, not too heavy. We found that inconsistent pressure is a common reason for iron-on transfers not adhering properly.
Allow for Proper Cooling and Peeling
Some iron-on transfers are designed to be peeled while hot, while others require cooling down completely. This detail is crucial and usually found in the instructions. Peeling a “cool peel” transfer while hot can cause the design to stretch or lift. Conversely, not letting a “hot peel” transfer cool enough might mean it doesn’t transfer fully. We found that patience here is rewarded with a clean, sharp design.
Consider the Type of Iron-On Material
There are many types of iron-on materials, including printable transfer paper, different finishes of heat transfer vinyl (matte, glossy, glitter, holographic), and specialty materials. For t-shirts, you’ll want a flexible HTV. For hats, a less stretchy type might be fine. We found that choosing the right type
Conclusion
You’ve learned that sublimation offers unmatched vibrancy and permanence on polyester, essentially becoming part of the fabric. Iron-on transfers, on the other hand, provide fantastic versatility for a wider range of materials and are often easier for beginners to start with. We’ve seen how sublimation requires specialized equipment but delivers a “no-feel” finish. Iron-ons are more accessible and work on cotton blends, though they create a surface layer. When choosing, consider your material, how long you need the design to last, and the feel you want. Now you’re ready to pick the right method and create your custom items with confidence! You’ve learned that sublimation offers unmatched vibrancy and permanence on polyester, and sublimation requires specialized equipment but delivers a “no-feel” finish.
Frequently Asked Questions
Can I sublimate on dark fabrics?
Generally, no. Sublimation ink is transparent and works best on white or very light-colored polyester fabrics. The ink dyes the fibers, so it won’t show up well on dark colors. For dark fabrics, iron-on transfers or specialized dark transfer papers are usually a better choice.
How do I know if a mug is sublimation-ready?
Sublimation-ready mugs will have a special polymer coating. This coating allows the sublimation ink to bond to the surface when heated. Most manufacturers will clearly state if a mug is designed for sublimation. If it’s not mentioned, assume it’s not coated and won’t work for sublimation.
Will my iron-on design feel stiff on my shirt?
The feel of an iron-on transfer can vary. Some thicker vinyls or transfers might feel a little stiff, especially on thin fabrics. However, many modern iron-on materials are quite thin and flexible, offering a soft feel once applied correctly. The type of transfer material and how well it’s applied both influence the final texture.
Can I use a regular household iron for sublimation?
No, you cannot. Sublimation requires a heat press to achieve the consistent, high temperatures and even pressure needed to turn the ink into a gas and bond it to the fabric. A household iron doesn’t provide the necessary conditions for sublimation to work correctly.
How long do sublimation and iron-on transfers typically last?
Sublimation designs are considered permanent and highly resistant to fading, cracking, and peeling, often lasting for the life of the garment with proper care. Iron-on transfers are durable but can eventually show signs of wear like fading, cracking, or peeling over time, especially with frequent washing and rough handling. Their lifespan depends on the quality of the transfer and application.