How to Make Sublimation Designs
To make sublimation designs, set up artwork at the blank’s print size, use a high-resolution image, and match the printer settings to your sublimation paper and blank. Mirror the design before printing when the transfer process requires it.
On this page (9 sections)
- What do you need to make a sublimation design?
- How do you choose the design size?
- What resolution should sublimation artwork use?
- How should you arrange photos, text, and graphics?
- How do you set up color and print settings?
- When should you mirror a sublimation design?
- What should you check before printing?
- How do you make sublimation designs for different blanks?
- How do you make sublimation designs that print cleanly?
To make sublimation designs, create the artwork at the blank’s printable size, use a clear high-resolution image, and set up the print file for your sublimation printer and paper. Check color, placement, and mirroring before printing so the image transfers in the right direction.
Sublimation designs work best when you plan around the item you’ll print. A design for a flat mouse pad needs a different layout from artwork for a can cooler or a jigsaw puzzle.
If you’re new to the process, start with What Is Sublimation Art? The Short Answer, then use the steps below to prepare artwork for a specific blank.
What do you need to make a sublimation design?
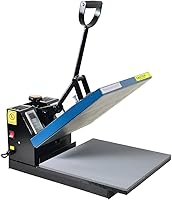
You need design software, a blank with a printable surface, and a way to print with sublimation ink onto compatible transfer paper. The software can be a simple editor or a more advanced graphics program, as long as it can set dimensions and export a suitable print file.
The blank matters because sublimation works on compatible coated or polyester surfaces. Check the blank’s instructions for its printable area and transfer requirements before laying out the artwork.
For artwork software options and what features to compare, see design programs for sublimation. Choose one that lets you set document size, place images and text, and export the file clearly.
How do you choose the design size?
Match the canvas to the area you plan to print, not automatically to the full size of the item. Measure the flat printable surface and leave space for seams, edges, or any part of the blank that should not receive the design.
For a rectangular blank, enter the intended width and height in your design program. Keep the artwork inside those boundaries, especially when a press may shift the transfer slightly.
The MS WGO jigsaw puzzle set has 20 A4 sheets, each with 120 pieces and an overall size of 22 x 31 cm. It can suit a design built around a full-sheet photo or image, with the important subject placed away from the outer edge.
Check the printable area and pressing instructions for your particular blank before sizing a file. A physical item’s outer dimensions do not always match the area that can take a transfer.
What resolution should sublimation artwork use?
Start with a crisp image sized for the final print; about 300 pixels per inch is a useful target for detailed artwork. A low-resolution image can look jagged or blurry when enlarged to fill a blank.
For example, a 10 in wide design at 300 pixels per inch needs an image about 3,000 pixels wide. You can use a smaller image for a small print, but enlarging it too far can reveal blur or blocky edges.
Use vector artwork for simple logos, shapes, and text when your software supports it. Vector elements can scale cleanly, while photos and painted textures depend on their pixel dimensions.
Zoom in to inspect small text and thin lines before exporting. Details that look readable on a monitor may be too fine for the final printed size.
How should you arrange photos, text, and graphics?
Keep the main subject inside the printable area and make text large enough to read at the finished size. Use a clear visual order, with one main image or message and supporting details that do not compete with it.
Use high-contrast colors for text over photos or textured backgrounds. If the words matter, place them on a simple area of the design or add a solid shape behind them.
For a mouse pad, a horizontal composition can give a photo or logo room to breathe. The MS WGO 10-piece mouse pad set has a white polyester fabric top and measures 24 x 20 cm, so design within those dimensions and check the usable print area.
On a can cooler, leave room for the seam and test the layout on a paper mockup before printing. PartyPrints’ white foam can cooler sleeves are made for customization and fit 12 oz and 16 oz cans, but the artwork still needs to suit the area you intend to press.
How do you set up color and print settings?
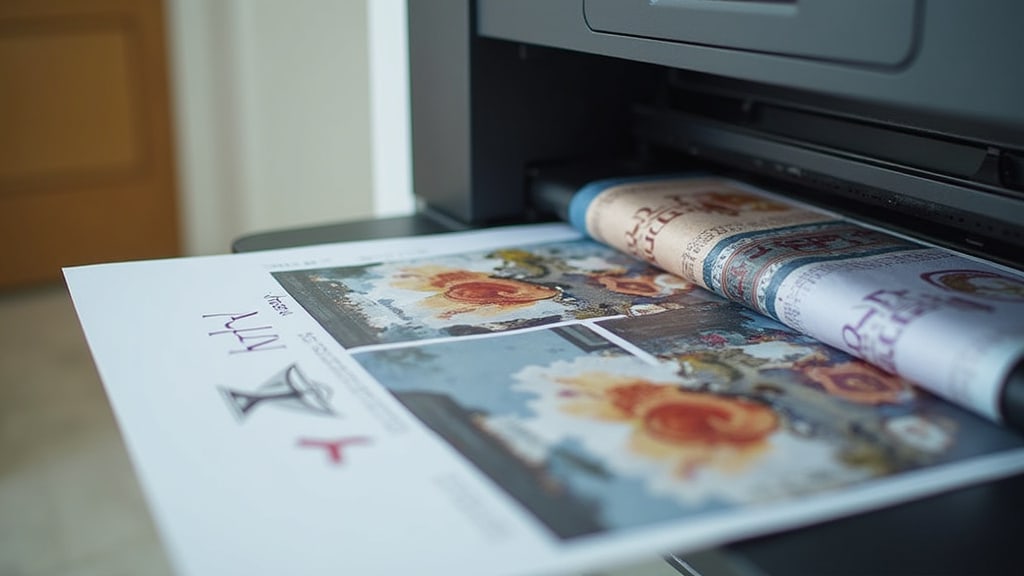
Choose the paper, ink, and printer settings recommended for your sublimation workflow. The right combination depends on your printer, transfer paper, and blank, so use their instructions rather than copying a setting from an unrelated material.
Set the paper type and quality in the print dialog to match your transfer paper. If the software has a color-management option, follow the guidance for your printer and ink system.
Colors on screen may not look identical after transfer. Keep a record of the settings that work with a particular blank and paper, and adjust from a small sample when you need to refine a design.
Before printing, check that the page size, orientation, scale, and paper feed are correct. A design accidentally set to “fit to page” may print smaller than its intended dimensions.
When should you mirror a sublimation design?
Mirror the design when the printed transfer is placed face down against the blank. This makes text and directional artwork read correctly after the image transfers.
Check whether your design software or printer dialog already has a mirror option enabled. If both stages flip the artwork, the final result may be reversed again.
Mirroring matters most for names, logos, numbers, and graphics that face a particular direction. A plain pattern may look the same either way, but it is still useful to follow one consistent workflow.
What should you check before printing?
Review the final size, image quality, layout, and mirror setting before you send the design to print. A quick preflight can catch common errors before you use transfer paper.
Use this short checklist:
- Confirm the canvas matches the planned print area.
- Check that photos and graphics look sharp at the final size.
- Make sure text is spelled correctly and large enough.
- Keep important elements away from edges and seams.
- Confirm the paper size, orientation, and print scale.
- Mirror once if your transfer process requires it.
- Save an editable source file and export a print copy.
If you’re choosing between sublimation and another transfer method, compare the material and workflow first. For example, Best Puff Heat Transfer Vinyl covers a different way to add a raised design to compatible fabric.
How do you make sublimation designs for different blanks?
Keep one design file per blank size or layout, even if you reuse the same photo or artwork. This helps you avoid printing a file made for a different surface.
For a puzzle, build the image to the full printable sheet and keep faces or small text away from the edge. For a mouse pad, consider how the design will sit beside the area where a mouse moves.
For a can cooler, prepare artwork that fits the intended sleeve area and account for the seam. If the design wraps around, use a paper mockup to check where the edges meet before printing.
How do you make sublimation designs that print cleanly?
Use a suitable canvas size, sharp source art, and print settings matched to your materials. Keep important details within the printable area and verify any mirroring before you use transfer paper.
Pick a design program based on the tools you need: simple layouts may need only image placement and text, while detailed artwork may call for layers and vector editing. For a photo-based project, use a source image large enough for the finished print.
Start with a blank whose shape fits the artwork. The A4 puzzle set suits a full-sheet image, the mouse pads suit compact rectangular designs, and the can cooler sleeves suit a repeatable event or gift layout.
Frequently asked questions
What size should a sublimation design be?
Set the design to the printable area of the blank, then check the dimensions in your press or transfer instructions. A full-sheet puzzle, a can cooler, and a mouse pad have different printable areas, so measure the surface and allow for any seams, edges, or areas that should remain uncovered.
What resolution should sublimation designs use?
Use a sharp source image sized for the final print, with about 300 pixels per inch as a common starting point for detailed artwork. A small image enlarged far beyond its original size may look soft or pixelated, so use a larger source or simplify the design.
Do sublimation designs need to be mirrored?
Mirror the artwork when your transfer method places the printed side face down on the blank, so text reads correctly after pressing. Some workflows handle mirroring in the print dialog or software, so check that only one stage flips the design.
What file type should I use for a sublimation design?
Use a file type that preserves the detail and transparency your design needs, such as PNG for transparent artwork or a high-quality print-ready file supported by your software. Keep an editable copy, then export a final version at the blank's dimensions before printing.